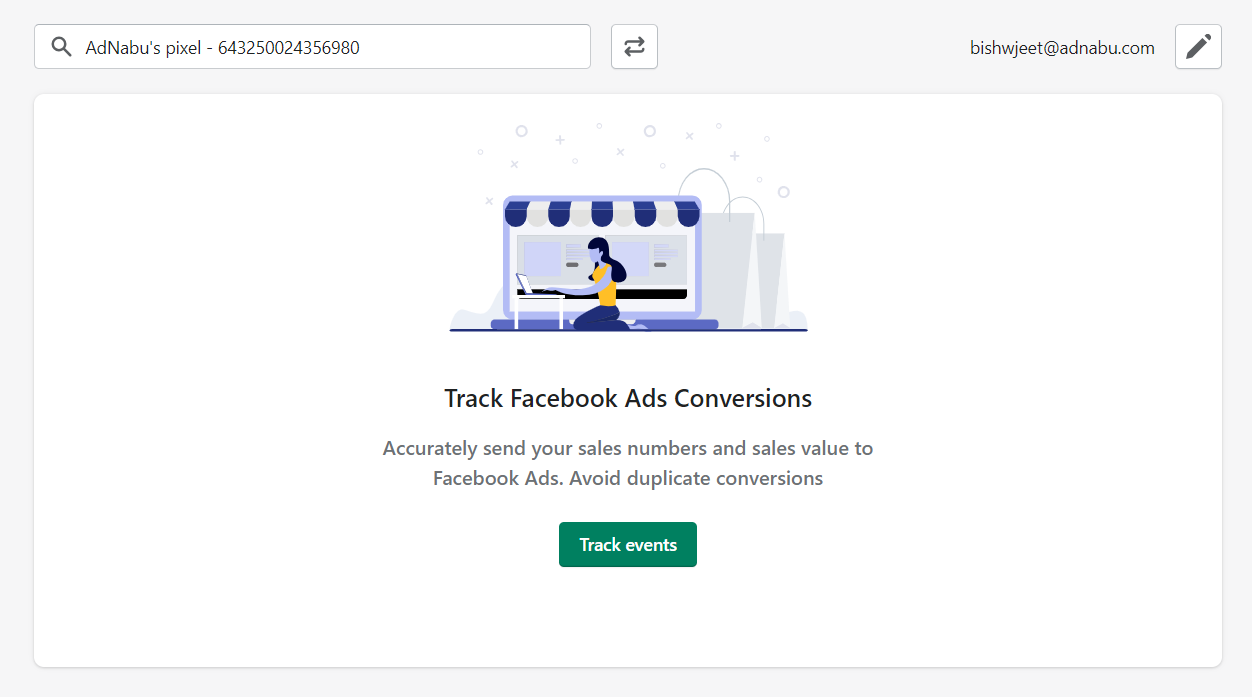
Connect your Facebook account and click on Track events to start tracking events for your pixel.
By using Nabu Tracking for Facebook App, you can accurately track conversions with 1-click. Manually tracking events for Facebook Pixel often results in unwanted errors. Facebook updates conversion tracking codes regularly & maintaining changes can be difficult. Editing theme files with the tracking code also require technical know-how.
You can follow the below steps and simply enable tracking for your Facebook pixels, and we will take care of the rest:
1. Connect your Facebook account with which you have created Facebook Pixels.
If you do not have any Facebook Pixel created, follow this article to complete the steps.
2. Once your account is connected, you will see all you available Facebook pixels in the left dropdown.
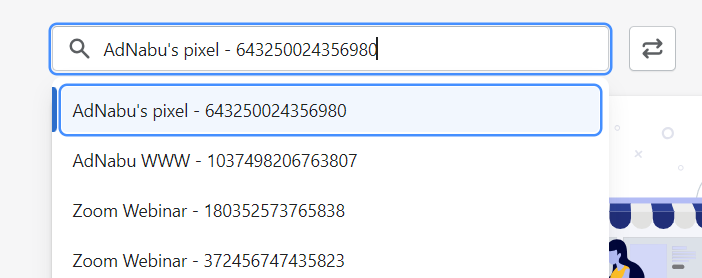
3. Select the pixel for which you wish to track your events for.
4. Click on Track events button.
5. Select the appropriate events that you wish to track.
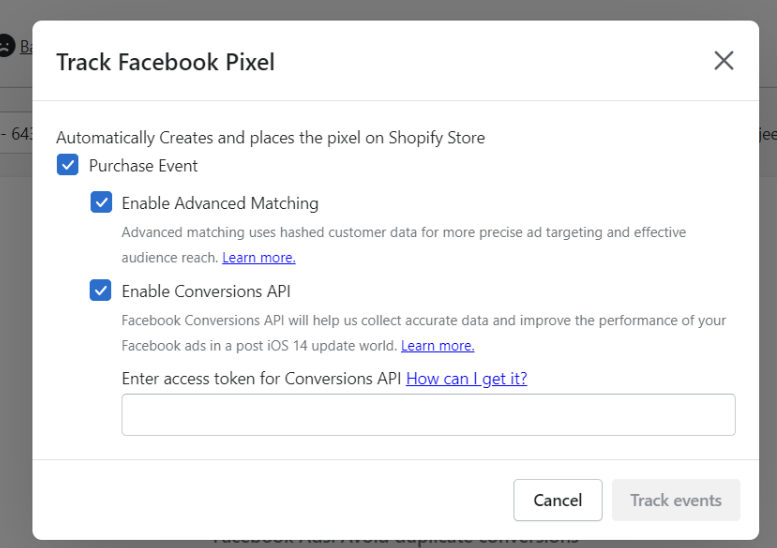
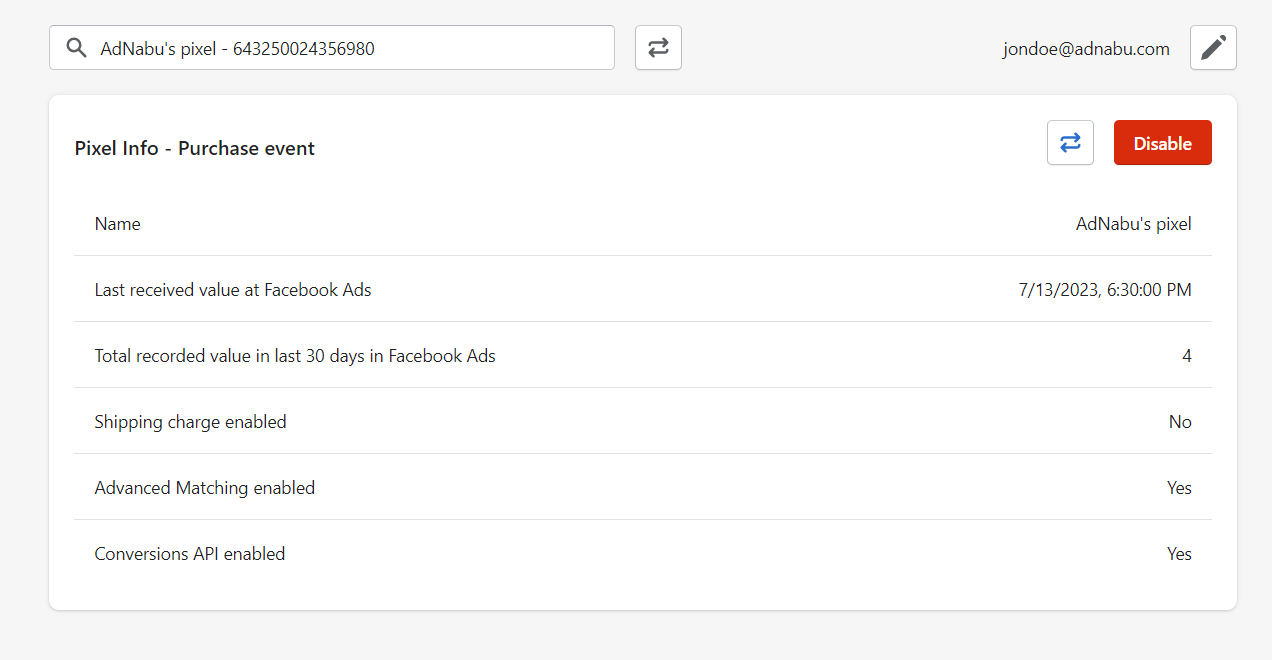
6. Additionally, we also recommend you to enable Advanced Matching and Conversions API for your tracking.
- Advanced Matching uses hashed customer data for more precise ad targeting and effective audience reach.
- Facebook Conversions API will help us collect accurate data and improve the performance of your Facebook Ads. Follow this article to know how to get access token for Conversions API.
7. Click on Track Events and that's it.
We will accurately start sending your sales numbers and sales value to Facebook Pixel, and avoid any duplicate conversions.