
Pre-requisite it to create a Facebook pixel in your Meta Ads manager. Once you have created the pixel, you can enable tracking with just one click from our app.
In order to track purchase events, you need to create a Facebook pixel in your Meta Ads manager.
Follow the steps of How to create pixels in Meta Ads Manager to create your Facebook pixel.
Once you have created the pixel, follow the below steps to enable tracking:
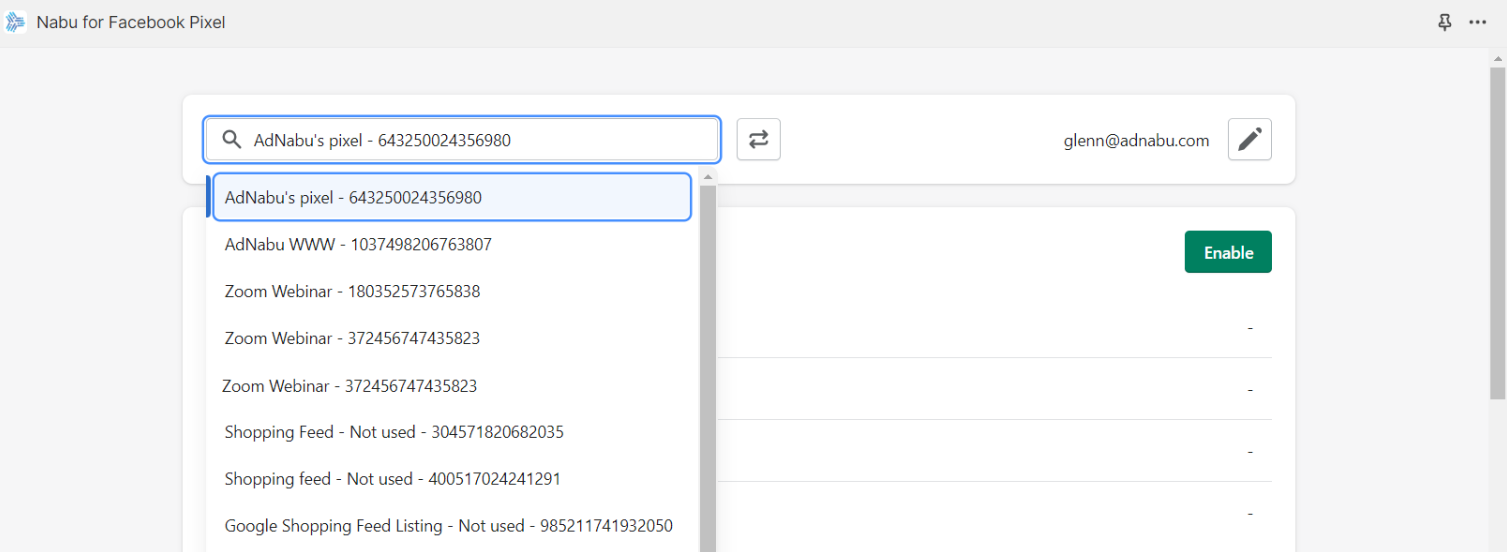
1. Select any pixel from the dropdown.
You can click on the 'refresh' button to refresh the data of this list.
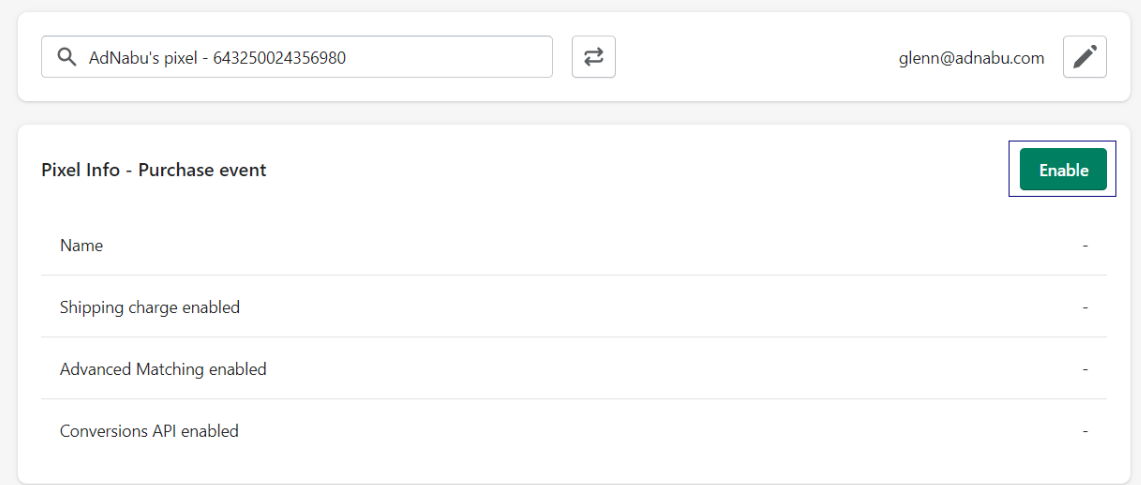
2. Click on the Enable button to enable tracking for purchase events.
3. Select the options that you wish to use in your Facebook pixel.
- Advanced Matching - Advanced matching uses hashed customer data for more precise ad targeting and effective audience reach.
- Conversions API - We recommend using Conversions API as it creates a more reliable connection and maximizes the efficiency of your website events. Learn how to get access token for your conversions api.
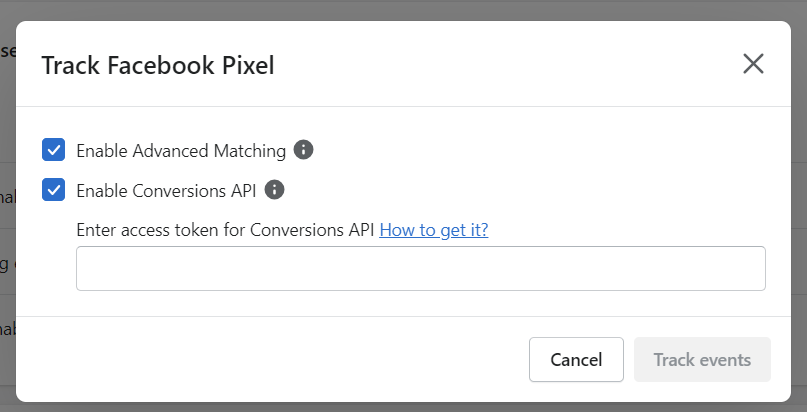
Note: If you enable these settings, ensure they are also configured in your Facebook pixel on Meta Ads Manager.
4. Click on Track events to save.
That's all! Your Facebook pixel has been successfully configured. We will now automatically track all purchase events for your pixel.